Monday, February 10, 2014

The Dread Eye's Phantom Conversion WIP part 10

Well I thought that I was done but I decided to make a base plate for the ship to sit on. This will make placing it on a map a little quicker. I used foam board because I have a bunch and it made it very quick to complete. Here is the cut out base plate showing the hex footprint.


I painted it a dark blue and then painted on the three hexes that a figure could stand on a lither shade of blue. I left the portion the ship hull would cover up unpainted making it easy to place the ship onto. Here is the ship placed on it.


Really I could have stopped at this point and just put on a clear coat to protect the paint. But I wanted to try some water effects. To do this I used the following:

Clear silicone caulking
Caulking gun
Popsicle stick
Plastic spoon


Now time for the fun part. Apply the caulking to the base plate, don't worry it is white but it will dry clear...if you bought the CLEAR kind.


Now use the popsicle stick to spread the silicone over the base plate. I didn't spread any on the unpainted portion.


Next it is time to create the water texture using the spoon. The easiest way to describe this process is to repeatedly hit the spread out silicone until you get the desired look.


Then let it dry. The thicker the silicone the longer it will take to dry.   


I am pretty happy with the results. There was some warping with once it was dry, but I was able to bend it so it would lay flat again.


Friday, February 7, 2014

The Dread Eye's Phantom Conversion WIP part 9

Time for the final part of my conversion for the Mega Bloks Dread Eye's Phantom. Now I didn't have sails for my ship so I needed to make new ones. I made three sails of different sizes and patterns. To do this I bought some cheap tan fabric from Wal-mart and had my wife help with the patterns and the sewing. 


I had her sew them so the top of the sail could slip on to the "yard" or crossing mast. I also had her sew the bottom of the sails so I could slip a wire through it for the rigging. Then put a loop on each end to tie the rigging to.


Next, the yards are painted and I glue on one of the end caps and then slip the yard in to the corresponding sail and glue on the other cap.


Now I decided that I would have the main sail raised permanently, because it looked weird and this allows less obstruction to moving the minis around. For this my wife helped a lot. Below you can see what we did to raise it.


Once the sails are assembled and attached to the masts, it is time for some rigging. I found this yellow string at Micheal's to use for this ship, to match the yellow accents I painted. Adding the rigging really helps bring it to life and add that little bit of extra detail.


Here is a couple side shots of the completed ship!! Now I just need to do a little photo shoot to show everything off.


Monday, February 3, 2014

The Dread Eye's Phantom Conversion WIP part 8

Will this has been on hold for a few months...but the end is now in sight thanks to Rocktroll over on Heroscapers.com sending me a cannon, wheels, and a few extras.


So, to start of I will be using the wheel on the left for this ship. I will also be trimming down the attacknment for the wheel and then it can be painted.


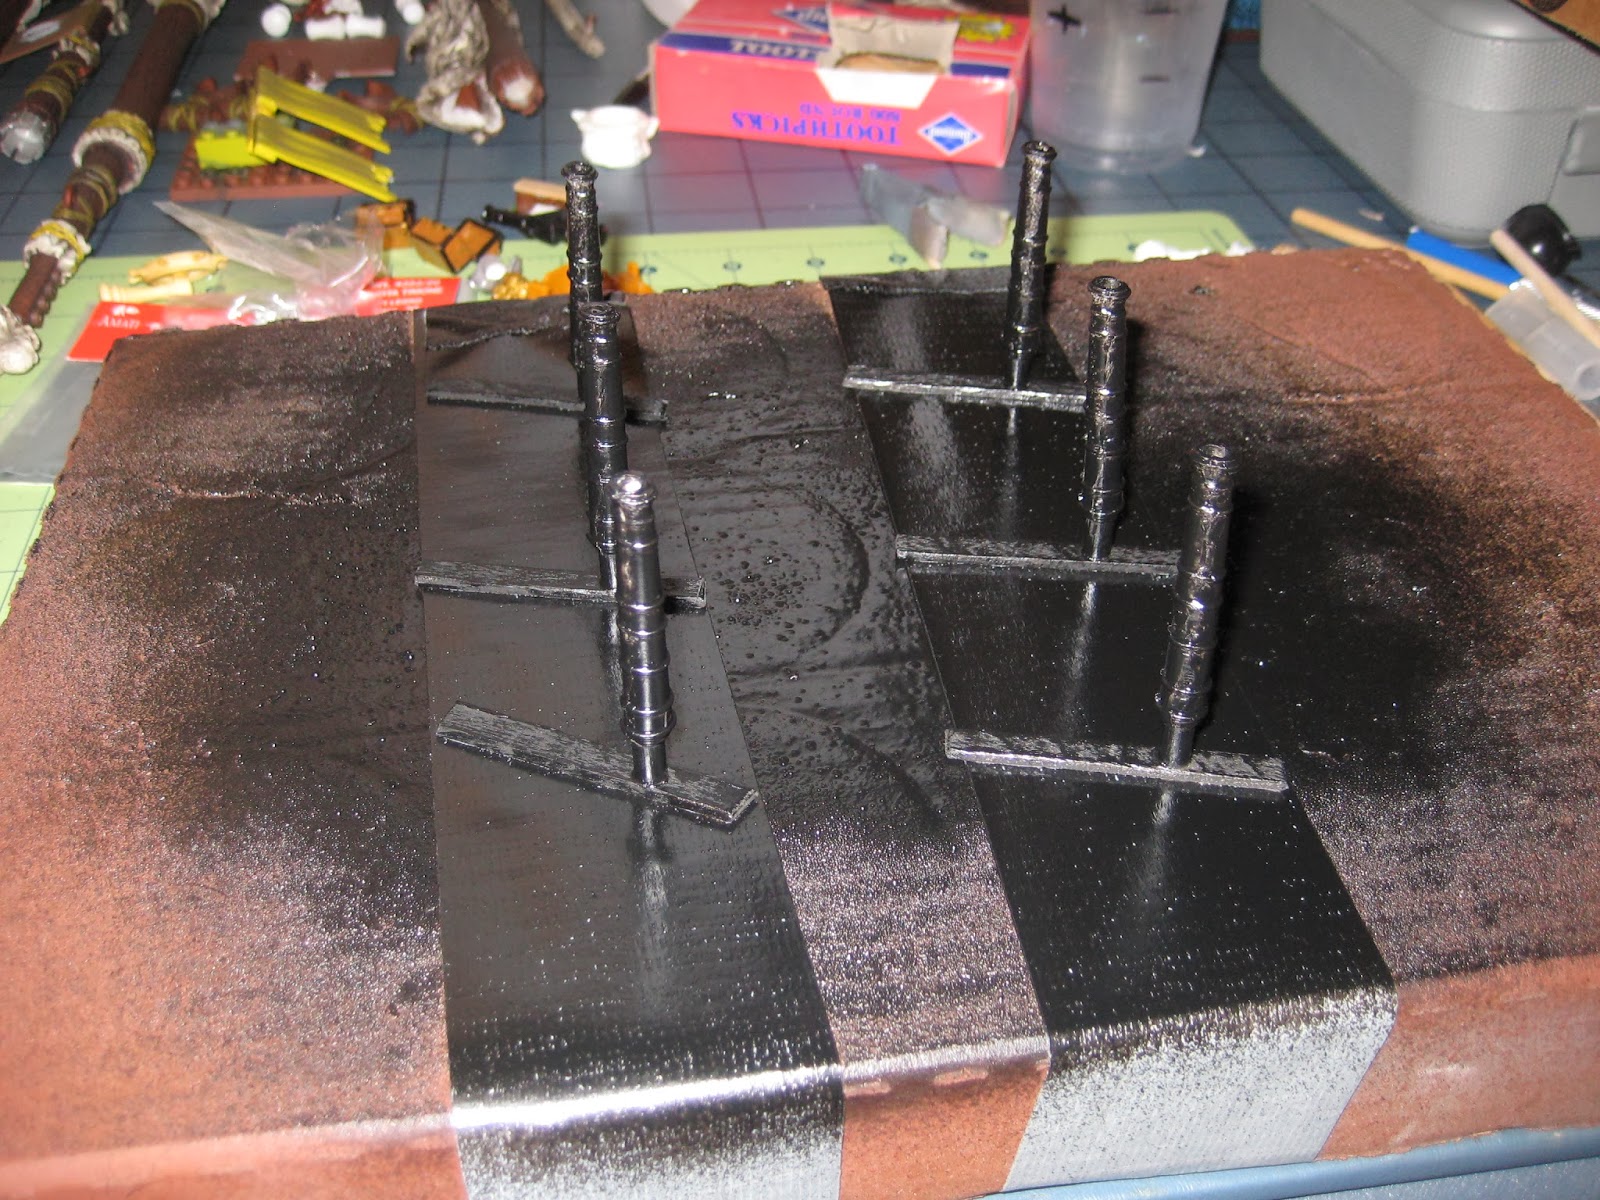
I have replicated the cannon and painted it black. Now to glue them in place, I first glued them to a wooden stick (same ones used to make the decks), then painted.


Next, I glued them in place using super glue, starting with the outside guns and finishing with the one in the middle for both sides of the ship.


Now the main deck can be glued in place. Once the main deck is glued down it is time to glue down the replicated custom ladder rungs for the stairs. At this time I also glued down the wheel and put the masts in place.


Here they are in use with a few figures.


If you notice I have also glued the anchor in place, but before gluing in place first you need to attack the chain. Then it can be glued in place.


Next, I found a random washer type thing to use as the hole the anchor chain enters the ship. Here it is painted and glued in place.


Now cut the last link in the chain so it can be glued in place.


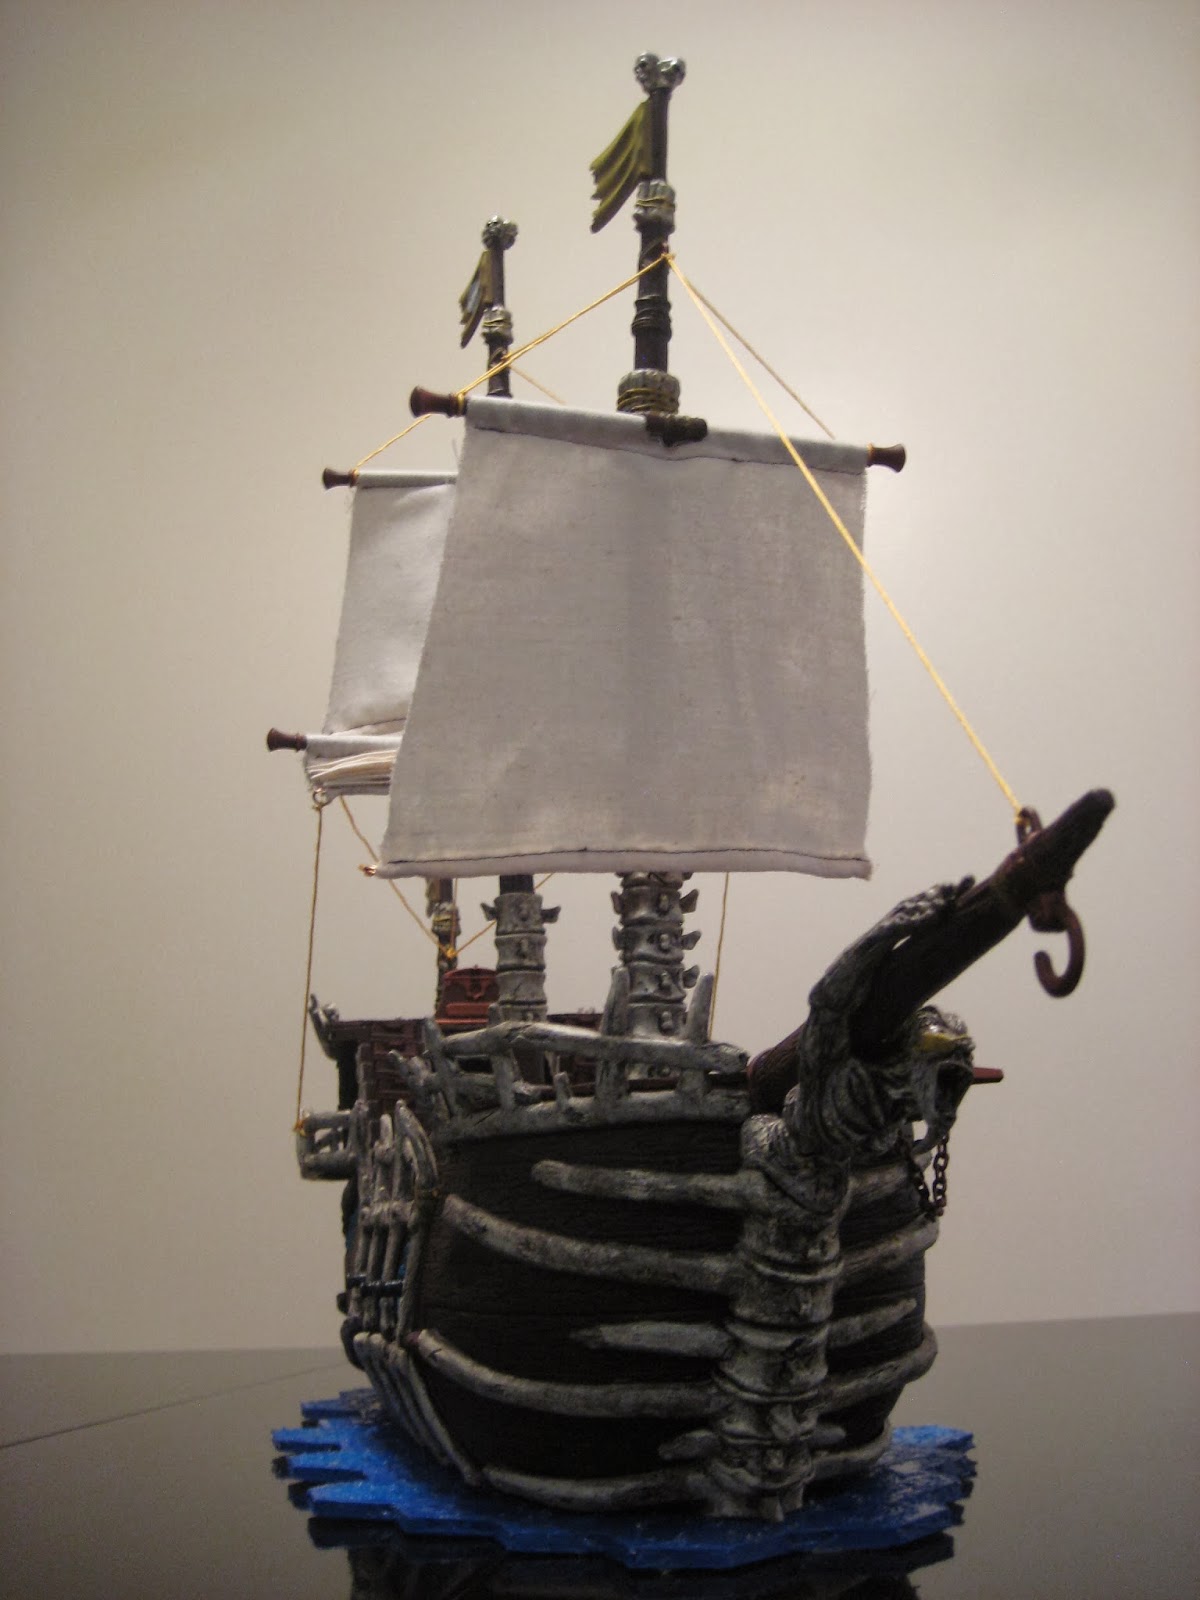
At this point the ship is useable for play, but it is missing sails. Once the sails are made the ship will be complete!